Heading structure is one of the most overlooked aspects of on-page SEO, yet it directly shapes how search engines interpret your content. When you publish a blog post with poorly organized headings, you're essentially handing Google a messy roadmap. The crawler struggles to determine what your page is about, which topics matter most, and how ideas connect to each other.
For content creators and SEO beginners, learning to build a clean heading hierarchy is a skill that pays off on every single post you publish. A solid SEO heading structure improves readability for humans and crawlability for bots simultaneously.
Good H1 optimization and logical heading order aren't optional extras; they're foundational. This guide walks you through four concrete steps to get your headings right, with practical examples you can apply today.
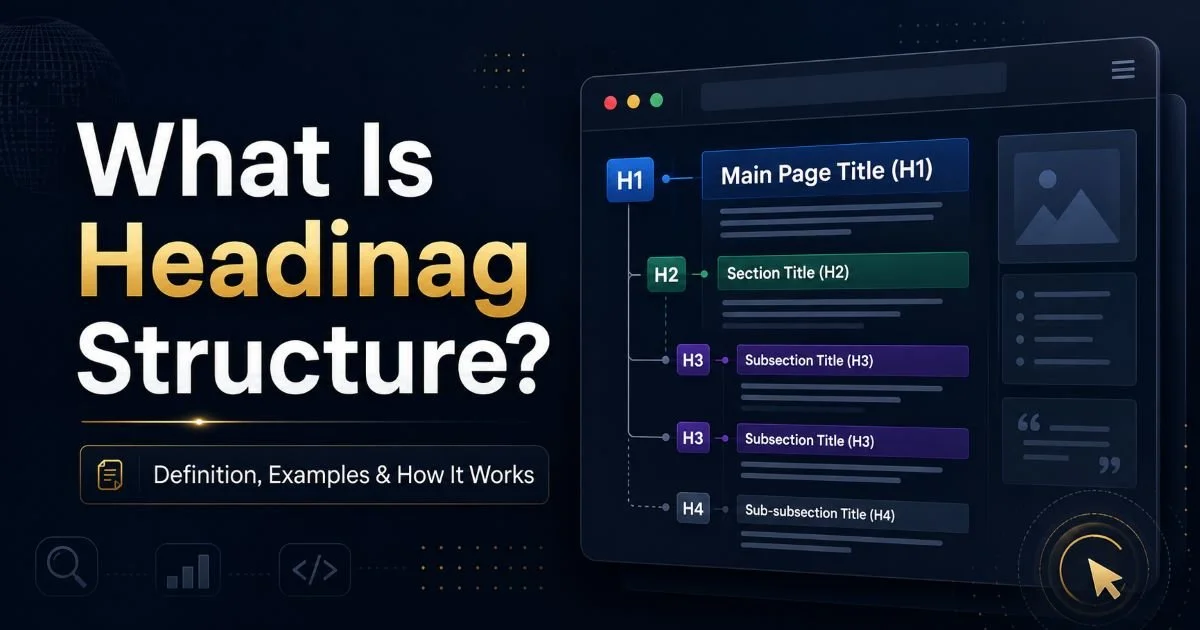
If you want a deeper understanding of what heading structure actually means, with definitions and examples, that resource covers the fundamentals well.
Key Takeaways
- Every page needs exactly one H1 tag that contains your primary keyword.
- Heading levels should follow a strict hierarchy without skipping from H2 to H4.
- Descriptive headings help readers scan and help search engines understand page structure.
- Duplicate heading text across sections confuses crawlers and reduces clarity for users.
- Running a heading audit before publishing catches structural errors that hurt rankings.
Step 1: Nail Your H1 Tag
What Makes a Strong H1
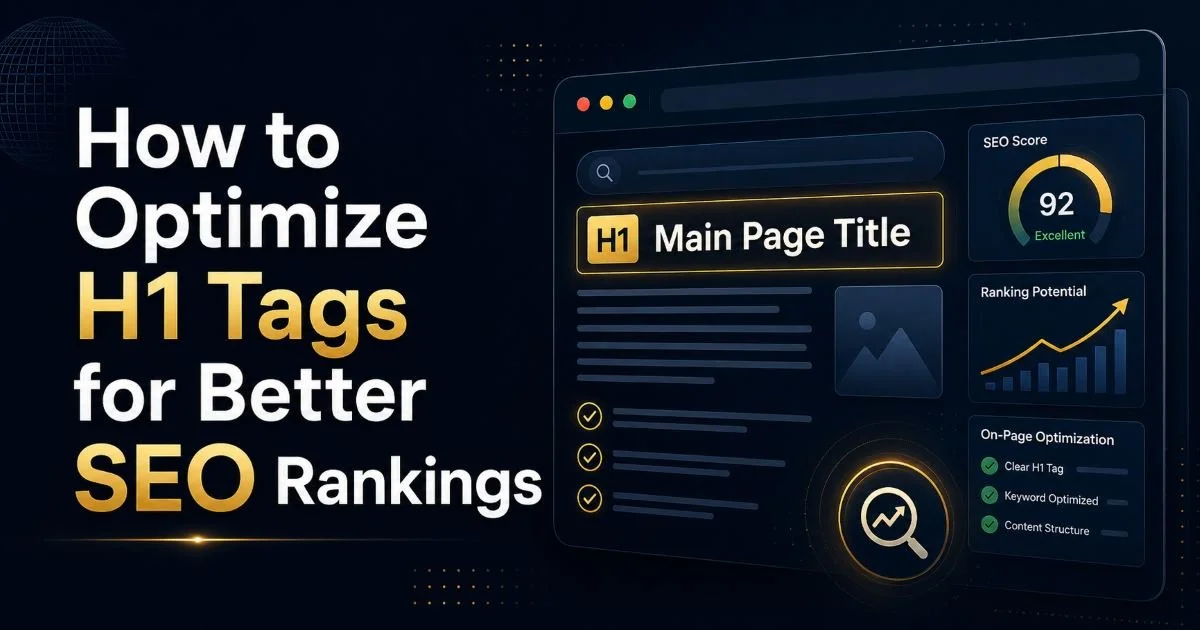
Your H1 tag is the single most important heading on any page. It tells both readers and search engines what the entire piece is about in one line. A strong H1 includes your primary keyword, stays under 60 characters when possible, and accurately reflects the content below it. Think of it as the thesis statement for everything that follows.
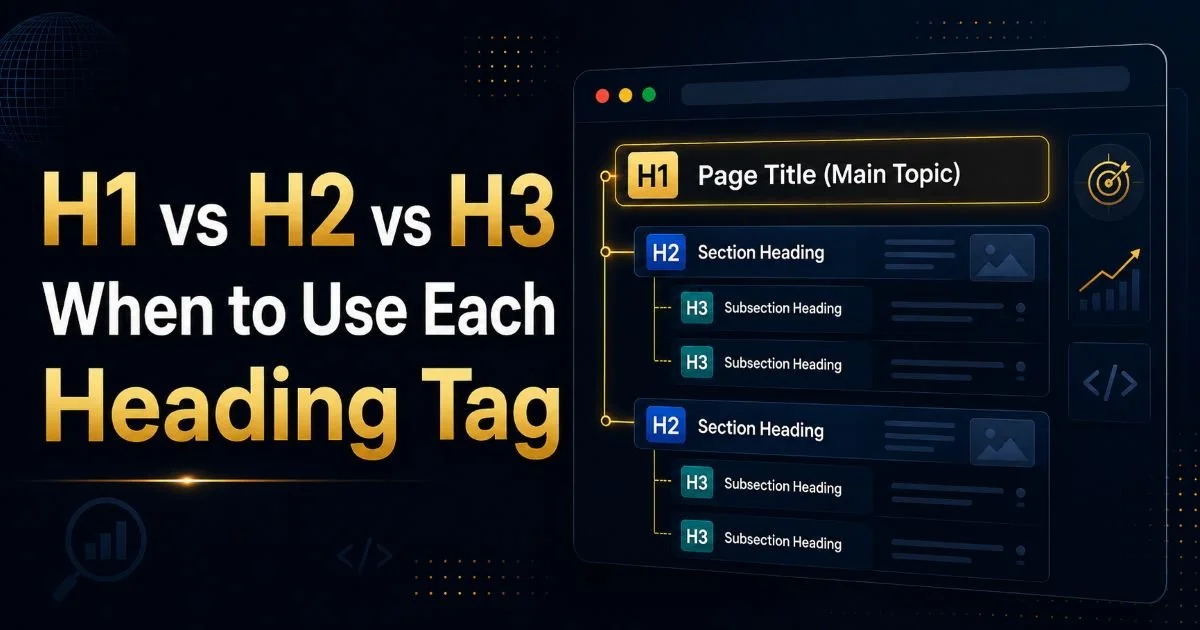
For a blog post targeting "best running shoes for beginners," your H1 should be something direct like "Best Running Shoes for Beginners in 2025." Avoid creative but vague titles like "Hit the Ground Running" because search engines parse literal meaning, not metaphor. The H1 should match or closely mirror your title tag in most cases, which reinforces topical relevance. Understanding when to use each heading tag, from H1 through H3, helps you make this distinction clearly.
Common H1 Mistakes
The most frequent H1 error is having multiple H1 tags on a single page. Some WordPress themes apply H1 styling to the site logo, meaning your blog post ends up with two competing H1s. Google can handle this, but it dilutes your signal. Always inspect your theme's header output and confirm only one H1 exists per page. A quick check with Heading Checker reveals this in seconds.
Another common mistake is leaving the H1 empty or making it identical to every other page on your site. Generic H1s like "Blog" or "Welcome" provide zero topical context. Each page deserves a unique, descriptive H1 that stands apart from every other page in your domain. If you're curious about heading hierarchy mistakes that hurt your SEO, that resource catalogs the most damaging patterns.
Never use more than one H1 per page. Multiple H1 tags confuse search engines about your primary topic.
Step 2: Build a Logical Heading Hierarchy
The Outline Method
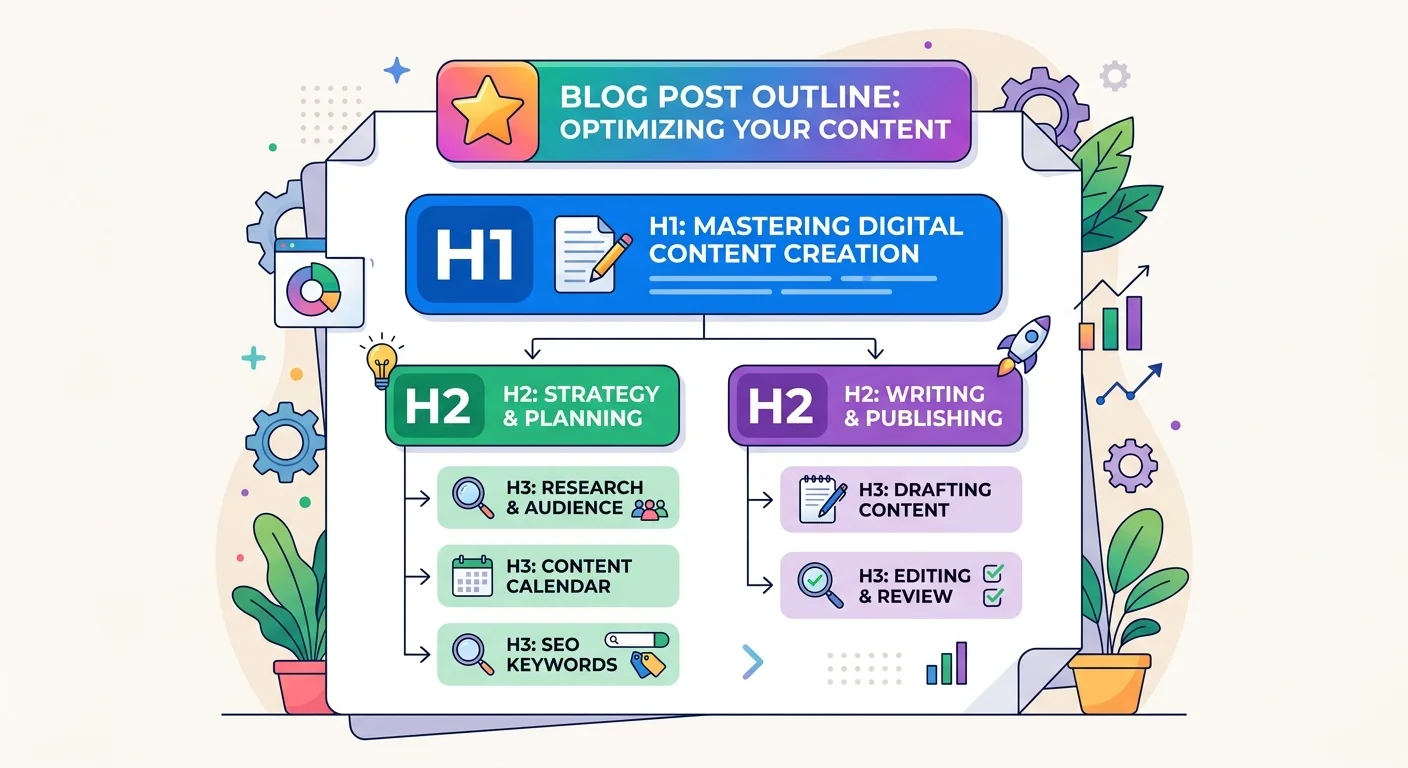
Before you write a single paragraph, sketch your heading outline first. This approach forces you to think about page structure before you get lost in the prose. Start with your H1 at the top, then list your main sections as H2 headings. Under each H2, note any subsections that need H3 tags. This mirrors how step-by-step tutorials structure each step for maximum clarity.
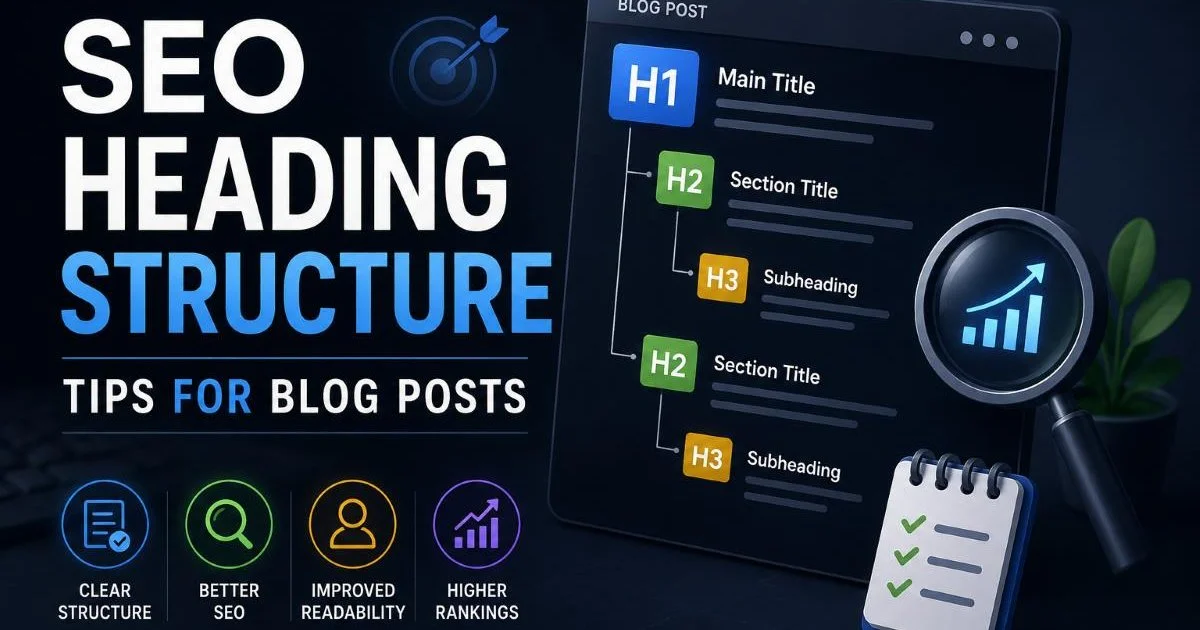
A well-structured outline for a recipe blog post might look like this: H1 ("Easy Chicken Parmesan Recipe"), H2 ("Ingredients You'll Need"), H2 ("Step-by-Step Instructions"), H3 ("Preparing the Chicken"), H3 ("Making the Sauce"), H2 ("Nutritional Information"). Notice how the hierarchy flows naturally. No heading level is skipped, and each H3 sits logically beneath its parent H2. This kind of clean nesting is what search engines reward.
Write your heading outline in a plain text document first. If the outline doesn't make sense on its own, your article's structure needs work.
Heading Levels Reference
Understanding what each heading level does helps you deploy them correctly. The table below breaks down the six HTML heading tags and their proper roles. Most blog posts only need H1 through H3, with H4 appearing occasionally in long-form content. Using H5 or H6 in a blog post is almost never necessary and usually signals over-nesting.
| Heading Tag | Purpose | Frequency per Page | Typical Use |
|---|---|---|---|
| H1 | Page title / main topic | Exactly 1 | Blog post title |
| H2 | Major sections | 3 to 8 | Step or topic divisions |
| H3 | Subsections under H2 | As needed | Sub-points within a section |
| H4 | Sub-subsections under H3 | Rare in blogs | Deep breakdowns, long guides |
| H5/H6 | Granular nesting | Almost never | Technical documentation only |
The key rule is simple: never skip a level. Going from H2 directly to H4 creates a broken hierarchy that confuses assistive technologies like screen readers and sends mixed signals to crawlers. If you find yourself jumping levels, it usually means you need to rethink whether that subsection truly requires its own heading, or if it can be folded into the parent section instead.
Step 3: Write SEO-Friendly Heading Text
Keyword Placement in Headings
Keywords in headings carry more weight than keywords buried in body text. Google's own documentation confirms that heading tags help the search engine understand page structure and topical relevance. Place your primary keyword in the H1 and at least one H2. Sprinkle related terms (LSI keywords) across your remaining H2 and H3 tags. This creates a topical map that reinforces what the page covers.
However, keyword stuffing in headings is a fast track to looking spammy. An H2 like "Best SEO Tips, SEO Tricks, and SEO Strategies for SEO Success" reads terribly and triggers quality filters. Each heading should read naturally, as if you wrote it for a human first and optimized it second. A better version would be "Proven Strategies to Improve Your Search Rankings," which conveys the same topic without forced repetition. Understanding how headings improve on-page SEO and crawlability gives you the full picture of why this balance matters.
"Write headings for humans first and search engines second; the best SEO headings accomplish both simultaneously."
Readability and Scan Value
Research from the Nielsen Norman Group shows that 79% of web users scan rather than read. Your headings are the primary anchors those scanners use to decide whether to keep reading or bounce. Effective headings are specific, not generic. "Benefits of Email Marketing" is acceptable, but "How Email Marketing Increased Revenue by 40% at Shopify" is far more compelling and scannable.
Aim for heading lengths between 4 and 10 words. Anything shorter tends to be vague; anything longer starts losing its scan value. Avoid questions in every heading, because while one or two question headings can be effective (and may trigger featured snippets), overusing them creates a monotonous rhythm. Mix declarative statements, action phrases, and the occasional question to keep the structure dynamic and engaging.
Screen readers announce heading levels to visually impaired users. A broken hierarchy makes your content inaccessible, not just hard to crawl.
Step 4: Audit and Fix Heading Issues Before Publishing
What to Check in an Audit
A heading audit should cover five things: H1 count (exactly one), heading order (no skipped levels), duplicate headings, keyword presence, and heading length. Run through this checklist before every publish. It takes two minutes and prevents structural problems that can sit unnoticed for months. Most content creators skip this step because it feels tedious, but it's where small errors accumulate into real ranking problems.
Duplicate headings are surprisingly common on blogs that use template-based approaches. If three sections all have an H2 reading "Overview," search engines struggle to differentiate them. Each heading should be unique within the page, clearly labeling what that specific section covers. Rename generic headings to be descriptive. "Overview of Pricing" and "Overview of Features" are distinct and meaningful, while repeating "Overview" three times is not.
Tools and Workflows
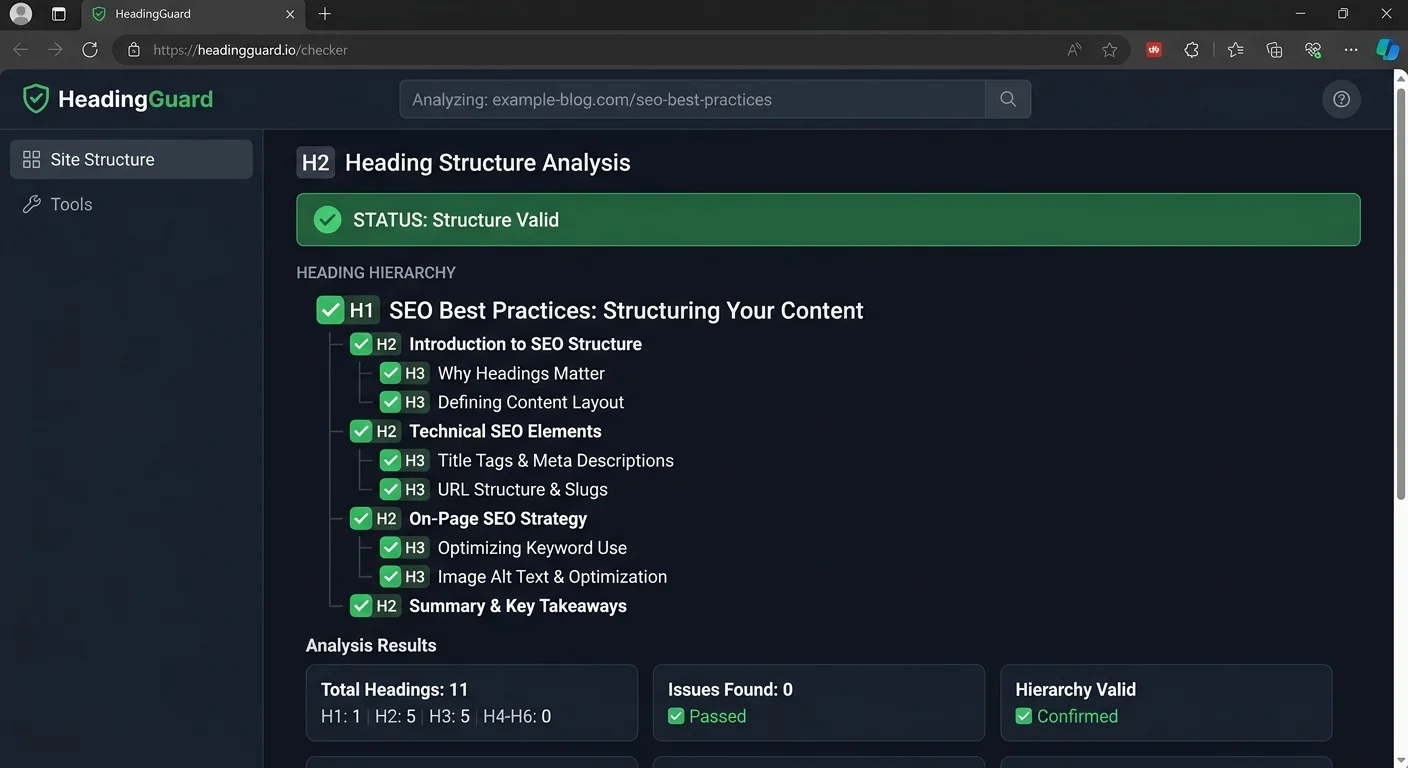
You can audit headings manually by viewing your page source, but dedicated tools save time and catch issues you'd miss. Heading Checker lets you paste a URL and instantly see your heading hierarchy, flagging missing H1s, skipped levels, and duplicates. Browser extensions like HeadingsMap or the Web Developer toolbar also visualize heading structure in real time as you browse your published pages.
For writers who use AI assistance in their workflow, tools highlighted in the best AI blog writer tools roundup can generate draft content, but you still need to verify the heading structure those tools produce. AI writers sometimes nest headings incorrectly or generate duplicate H2 text across sections. Always run the output through a heading checker before publishing, regardless of whether a human or machine wrote the draft.
Add heading audits to your publishing checklist right between "proofread" and "add meta description." Making it a habit prevents recurring structural issues.
Build a simple workflow: draft your outline, write the content, run a heading audit, fix any flagged issues, then publish. This four-step process keeps your on-page SEO headings clean across every post. Over time, you'll internalize the rules and catch problems during drafting itself, but the audit step remains valuable as a safety net even for experienced writers.
Frequently Asked Questions
?How do I check if my WordPress theme is adding extra H1 tags?
?Is it okay to skip from H2 to H4 if H3 doesn't fit the content?
?How long does a heading audit take before publishing a post?
?Does my H1 always need to exactly match my title tag?
Final Thoughts
Getting your SEO heading structure right doesn't require advanced technical skills. It requires attention, consistency, and a willingness to outline before you write. Start with a single, keyword-focused H1. Build a logical hierarchy that never skips levels.
Write descriptive heading text that serves both scanners and search engines. Then audit everything before you hit publish. These four steps, practiced consistently, will improve your rankings, your accessibility, and your readers' experience across every blog post you create.
Disclaimer: Portions of this content may have been generated using AI tools to enhance clarity and brevity. While reviewed by a human, independent verification is encouraged.